")
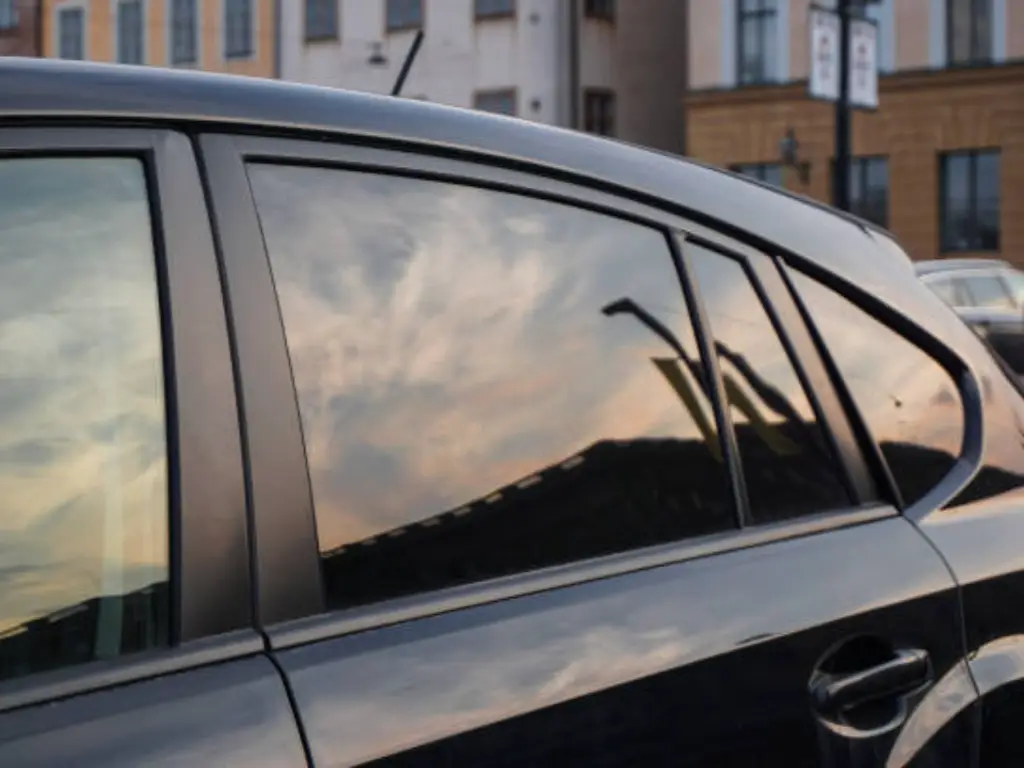
It starts as a little inconvenience: a little bubble on your window. Soon, it multiplies. The intense black becomes a smoky distracting purple, making your rear window a bubbled mess. That broken, outlived-out window tint must be removed.
You have now reached a crossroads. One of the paths is the professional removal cost. Conversely, the siren song of a low-cost, do-it-yourself project. It is not a mere decision between money and time saved. It is a complicated cost-catastrophic risk calculation.
This is a clear-cut analysis of the actual cost of removing window tint, the pro invoice versus the high stakes gamble of a DIY project. We will break down the expenses, examine the procedures, and reveal the risk that is critical and can make a $30 DIY kit a $1,000 error.
How Much Does Professional Tint Removal Cost?
Let’s address the primary question immediately. For a complete, professional removal of window tint from a standard sedan, you can expect to pay anywhere from $100 to $400.
This price is not arbitrary; it is a direct reflection of time, labor, and expertise. Most reputable auto shops and tint specialists will not quote a flat fee without first seeing the vehicle. However, we can establish a reliable baseline.
Cost Breakdown by Vehicle and Window
- Per-Window Basis: If you are only looking to remove tint from a single window (perhaps one that was damaged or is bubbling prematurely), the cost is often between $25 and $50 per side window. The rear windshield, due to its complexity and the defroster risk, is almost always more expensive, often starting at $75 or more on its own.
- By Vehicle Type:
- Coupe/Standard Sedan: This is the baseline, typically falling in the $100 – $250 range. These vehicles have a predictable number of windows (4-5) and standard glass.
- SUV/Minivan/Wagon: Expect the price to climb into the $200 – $400+ range. The reason is simple: more glass. SUVs and minivans not only have more side windows (including quarter glass and vent windows) but also possess a significantly larger rear windshield, which is the most time-consuming part of the job.
- Trucks: A standard single-cab truck may be on the cheaper end, but a full-size crew cab with four doors and a large rear window will be priced similarly to an SUV.
The final invoice is a direct result of the time a technician must spend meticulously steaming, peeling, and scraping adhesive from every square inch of glass. And as we will see, not all tint jobs are created equal.
Key Factors That Influence Your Final Price
The reason why the range of $100 to $400 is so wide is because of this reason. When a professional quotes you, he or she is computing in his or her mind several important variables that define the challenge- and hence time- it will take to do the job.
1. Type of vehicle and number of pieces of glass: As stated, an SUV that has eight pieces of glass will be more expensive than a coupe that has three. The most important price driver is the sheer surface area.
2. Condition of the Old Tint: This is the most important variable.
- Old but Intact: In case the tint is merely old and yet intact, it is easy to remove. A technician is able to heat the film with the help of steam and peel it off in large and satisfying sheets with little adhesive left.
- Bubbling and Delaminating: This is harder. Bubbling refers to the separation of the layers of the film (the polyester, the dye, the adhesive) that are occurring. The technician can only remove the top layer leaving a second layer that is stubborn and sticky.
- Cracked, Flaking or Purple: This is the worst case scenario. This colour has been completely sun-baked. The movie itself is fragile and will fall off in small, exasperating pieces. The paste below has hardened into a lacquer. This is a nightmare to the technician and takes hours of scraping the patients and solvent consumption, which makes the price to be at the extreme end of the scale.
3. Local Labor Rates: The overhead and labor costs in a tint shop in downtown Los Angeles or New York City are higher than in a shop in a small town in the midwestern region. This is a regional cost of business that is directly included in your quote.
4. Original Film Quality: This is a factor that is usually ignored. Low-grade, cheap dyed films are infamous because they do not work in the worst-case-scenario described above. Their low quality adhesives disintegrate in the presence of UV light, becoming a sticky, purple nightmare that bonds to the glass.
Paradoxically, the films of better quality are more likely to be erased, even ten years later. High-end brands use high-quality and high-technology adhesives that are engineered to be permanent but will also be easily removed by heating them with steam.
This is a key reason why installers and clients alike favor premium materials like those from Flexippf. The engineering that goes into a high-quality ceramic or carbon film isn’t just for performance; it’s for the entire lifecycle of the product. A quality film is designed to last, but also to be removed without destroying the glass or costing a fortune in labor down the line. The bitterness of a cheap film’s removal cost often lingers long after the sweetness of its low initial price is forgotten.
The DIY Option: What Will You Spend?
The temptation of the DIY route is strong in the face of a possible bill of $300. The financial price, in sharp contrast, appears to be almost insignificant.
To make a DIY tint removal, the main expenses are supplies. A complete kit can be made with about 15 to 30 dollars.
The following is what you normally have in your shopping list:
- A handheld garment steamer (the most important device, which you might have)
- A few single-edge razor blades (side windows only)
- A scraper made of non-metallic plastic (to clean the rear window)
- Heavy-duty black trash bags
- Cleaning agent without ammonia (or a mixture of dish soap and water)
- Wipe microfiber towels and paper towels.
- A spray bottle
The financial analysis appears to be straightforward: 30 dollars of equipment against a 300 dollars professional bill. This is the main motivation to trying the job at home. But this calculation does not take into account the most precious thing you possess, your time. A specialist using specialized equipment can clear a full car in 90 minutes to two hours. As a first time DIY-er, you need to set aside a whole Saturday or Sunday afternoon, at least four to six hours of possibly frustrating work.
Best DIY Methods for Removing Old Tint
If you’ve weighed the options and are committed to the DIY path, your success will depend entirely on your method. Not all techniques are equal in their effectiveness, difficulty, or risk.
Method 1: The Steamer (The Professional’s Method)
This is, without question, the most effective and safest way to remove old tint.
- How it Works: A garment steamer applies consistent, hot, moist heat directly to the film. This heat penetrates the polyester and melts the underlying adhesive.
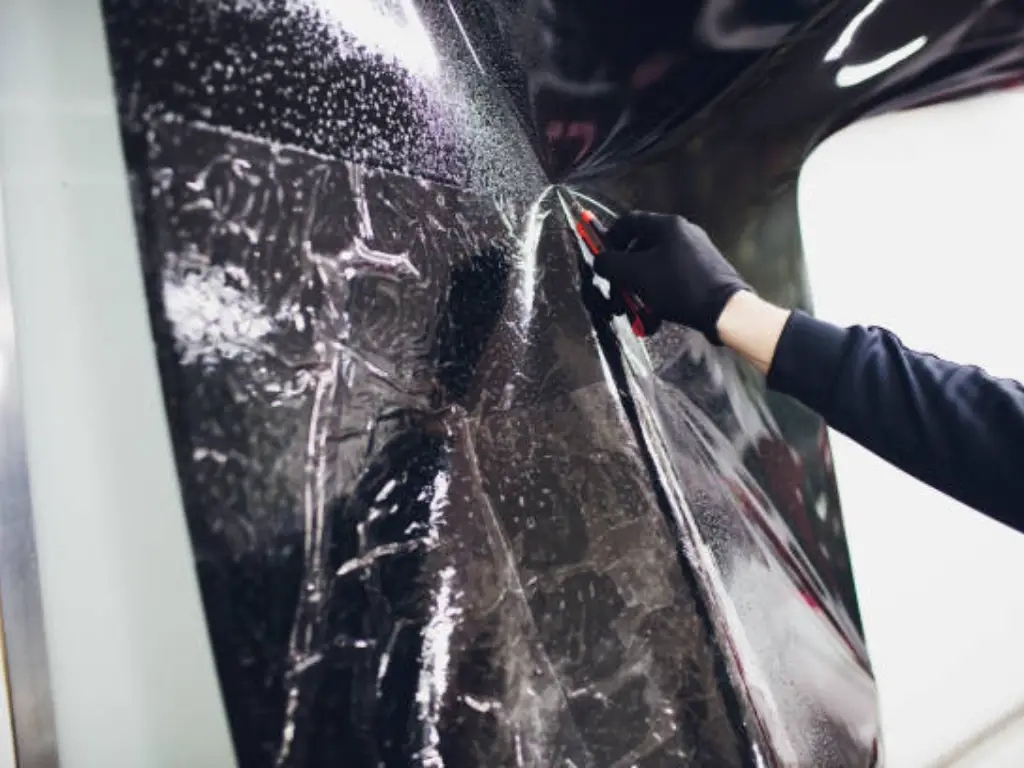
- Process: You slowly run the steamer over a section of the tint (from the outside of the glass to heat it), then move inside and steam the film directly. You pick a corner and begin to peel. With the right amount of heat and patience, the film and the majority of its adhesive will come off in one large sheet.
- Difficulty: Medium. It requires patience and a feel for the right temperature and speed.
- Risk: Low to Medium. The primary risk is impatience. Pulling too fast will tear the film or leave the adhesive behind. Steam is hot and can burn you or, in rare cases, damage plastic interior trim if held in one place for too long.
Method 2: The Heat Gun (The Patient Method)
This method is similar in principle to steaming but uses dry, intense heat.
- How it Works: A heat gun (like one used for stripping paint) heats the film, melting the glue.
- Process: Keeping the gun moving constantly to avoid creating hot spots, you heat a section and begin to peel.
- Difficulty: High. It is very easy to overheat the glass, which can crack it, especially on a cold day (thermal shock). It is also easy to melt interior plastic trim, weather stripping, and door panels.
- Risk: High. This method is not recommended for beginners. The risk of cracking the glass or damaging your car’s interior is significant.
Method 3: The Soap, Scrape & Sun Method (The “Trash Bag” Method)
This is the most common “budget” DIY method found online. It uses solar energy to do the work of a steamer.
- How it Works: You spray the inside of the window with a soapy water solution. While it’s wet, you cover it with a black plastic trash bag, cut to shape. You park the car in direct, hot sunlight for several hours. The black bag absorbs heat, trapping the moisture and “steaming” the window, softening the adhesive.
- Process: After a few hours, you remove the bag and the tint should peel off easily. This is followed by spraying the remaining adhesive with your solution and meticulously scraping it off.
- Difficulty: Medium. It’s less about skill and more about time, patience, and ideal weather conditions. The scraping part is extremely tedious.
- Risk: Low (for the method itself), but High (for the scraping step). This brings us to the most important part of this entire guide.
The Critical Risk: Protecting Your Rear Defroster
This part is not a reading option. It is the most critical consideration in your Pro vs. DIY choice.
There are some thin orange or brown lines baked on the inside of your rear windshield, in a series of horizontal lines. These are your defroster lines (or defogger lines). They are, technically speaking, a printed circuit. When you turn on the defroster, a low voltage current is passed through these traces, heating them and clearing the ice or fog.
These are very delicate lines.
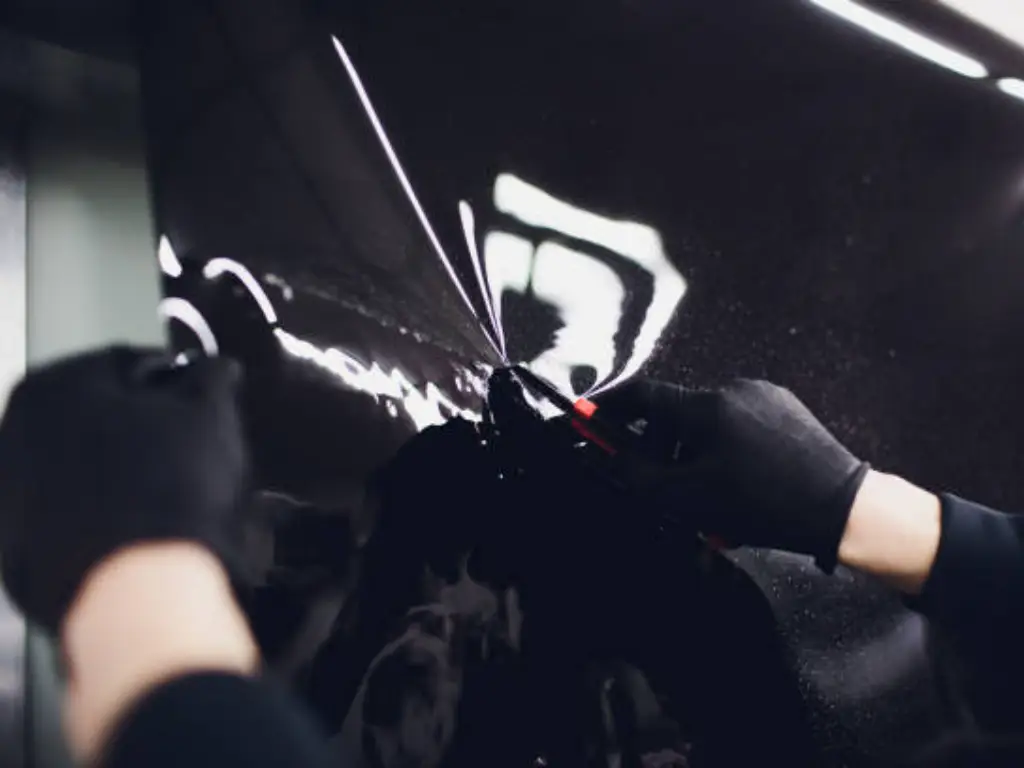
Old window tint adhesive attaches itself to them. When doing a DIY removal, particularly the “Scrape” technique, it is tempting to take out the remaining glue, which is stubborn, using a metal razor blade.
This will be a thousand-dollar mistake that can never be undone.
These thin conductive lines can be cut by a single pass with a metal razor blade. A severed line is a dead line. It will not work. And when you have three or four or ten deadlines, your whole defroster system is no good.
“Can’t I just repair them?” In theory, yes. Practically, no. Repair kits (which include a small bottle of conductive paint) are infamously unreliable, hard to apply, and fail readily.
The only actual, lasting solution to a defroster that you have ruined with a razor blade is to install a new rear windshield. This is a fix that may cost between 400 and more than 1000 dollars, depending on your car and the inbuilt antennas or sensors.
It is suddenly an amazing deal when the $150 that a professional would have charged to safely strip that rear tint with steam and non-metallic scrapers is considered.
Pro vs. DIY: A Simple Decision Guide
To help you make the final call, here is a simple decision-making framework.
| Consideration | Choose Professional Removal | Choose DIY Removal |
| Your Goal | You want a perfect, clean, risk-free result. | You are on an extremely tight budget and are willing to accept risk. |
| The Window | Rear Windshield. (Strongly recommended). | Side windows only. |
| Tint Condition | The tint is purple, flaking, or severely bubbled. | The tint is old but still in one piece and peeling cleanly. |
| Your Skills | You are not patient and are not “handy” with tools. | You are very patient, detail-oriented, and have a free afternoon. |
| Your Tools | You do not own or want to buy a garment steamer. | You own a garment steamer and non-metallic scrapers. |
| Risk Tolerance | You cannot afford a $1,000+ bill to replace your rear glass. | You are willing to risk damaging the defroster to save $150. |
The verdict: For side windows, a patient DIY-er can achieve good results with the steam method. For the rear windshield, the risk of destroying your defroster is so high and the cost of failure so catastrophic that professional removal is the only logical and financially sound recommendation.
Choosing a Quality Replacement Film
Once the old, failed film is gone, your glass is a blank canvas. The very last thing you want to do is apply another cheap, low-grade film that will have you repeating this entire process in three years.
You have an opportunity to upgrade. But first, to truly establish expertise, you must understand why your old tint failed.
It almost always comes down to three things:
- Dye Fading: The cheapest films are just polyester sheets with a colored dye. UV rays from the sun break down this dye, causing it to fade and turn that notorious, cheap-looking purple.
- Adhesive Failure: Low-quality adhesives break down under constant heat and UV exposure. The glue degrades, releasing the film from the glass and creating those ugly, hazy bubbles.
- Material Delamination: Multi-layer films are laminated together. Cheap lamination will separate, causing the bubbles and “alligator skin” effect you see on failed tints.
What to Look for in Your New Tint
You are not simply making your windows dark when you pick a replacement. You are putting money in a high-tech device. Look for these three things:
- Material Construction: Disregard simple dyed films. You have to choose between Carbon Film and Ceramic Film. Carbon films involve stable carbon particles which will never fade. Ceramic films involve microscopic ceramic nanoparticles (IR blockers) which provide the ultimate best heat and UV rejection without disturbing electronic signals (cell phone, GPS, key fobs).
- Performance Metrics: Do not simply ask how dark it is? Request the IR Rejection (Infrared Rejection) and TSER (Total Solar Energy Rejected) ratings. This is the real quantification of the extent to which the film is resistant to heat which is the main purpose of tinting in the first place.
- Lifetime Warranty: A well-known manufacturer will back up their product with a lifetime warranty that specifically includes fading, purpling, bubbling and delamination.
That is why it is not possible to compromise on a good manufacturer. The professionals and discriminating customers are attracted to the brands that have established their reputation on material science and durability.
This is the philosophy of brands such as Flexippf.
Flexippf has designed its high performance automotive films, such as its high-end Ceramic and Carbon series, to address the same issues that contribute to the failure of tints. They use superior, durable adhesives which are designed to endure the life of the car. The color of the tint is not unstable dyes but rather long-lasting carbon or ceramic nanoparticles.
This is not a dark window you are getting, but a shield of protection, a permanent one. You are spending on better heat rejection, 99.9% UV protection to save your skin and interior, zero signal interference and most importantly a promise that you will not be that person one decade later, peeling purple glue off your glass.
The decision to eliminate the old tint is not a complicated one. How you decide to do it will be your experience though. Watch out about the fake economy of a DIY job, realize how important it is to have your rear defrozer working, and when you are ready to re-tint, spend the money on a good film that will last.