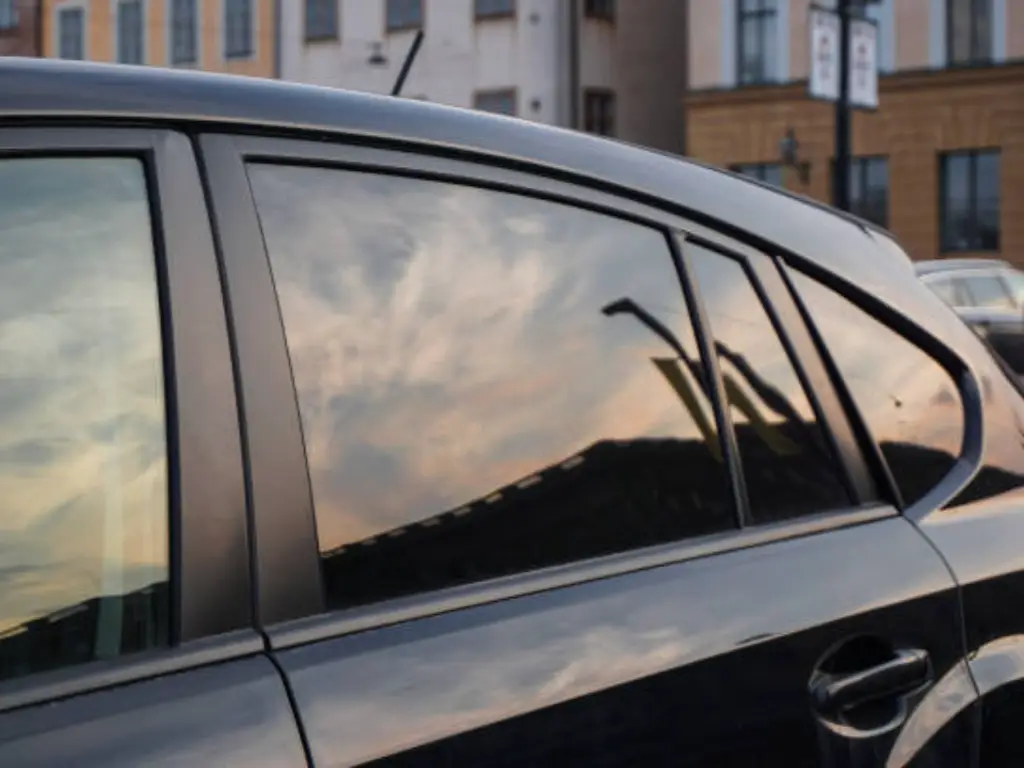
A good car window tint costs a lot of money, it is an important investment on the comfort, privacy and protection of your car. It reflects the harmful Ultra Violet rays, cools the heat inside, and makes your car to look good. However, use on a daily basis, a loose ring, a divided piece of cargo, or even bad installation may create imperfections. Scratches and bubbles in window tint and peeling tint are not only aesthetic nuisance or problematic but also defects in the film and your driving experiences.
Although you may want to immediately take a very expensive journey to a professional window tinting installer, most of the common problems can be very professionally repaired on a do-it-yourself basis, which will take some patience and time. This is to become your ultimate guide, not another set of tricks; this goes further and gives you a complete professional quality guide to whether to repair and how to repair your auto window tint. We will learn about the specific methods to repair the most popular kinds of damaging and the instruments to be used in this work, and, what is important, we will also understand what we should know in order to realize when we can and must use the DIY repair.
First, Assess the Damage: Repair or Replace?
A proper diagnosis even before any tool is taken out is of utmost importance. The ability to DIY your repair depends on the nature, extent and locality of the damage and the general age and health of the film. An old tint that has already started failing because of age will just be a waste of time besides producing an unsatisfactory finish. On the other hand, it is pointless to get the tint of a whole car window replaced to fix a cosmetic, small defect.
This table should be your selective tool when diagnosing. It is presented in a form of an easy-to-make-a-glance recommendation of the most frequent cases, so that you could make an informed objective decision.
| Damage Type | Size & Location | Film Age | Recommended Action | Key Considerations |
| Single, Small Bubble | Smaller than a dime; not in driver’s direct view. | Under 5 years | DIY Repair | Easily fixed with the pin-prick method. Indicates a small pocket of trapped air or solution. |
| Cluster of Bubbles | Multiple bubbles in one area; any size. | Any age | Repair or Replace | Can be repaired, but may indicate adhesive failure. If bubbles return, replacement is needed. |
| Peeling Corner/Edge | Less than 2 inches long. | Under 5 years | DIY Repair | A common issue that can be re-adhered if the film is still pliable and the adhesive is viable. |
| Minor Surface Scratch | Not through the film; feels smooth. | Any age | DIY Repair | Often can be buffed or cleaned out. Does not typically require invasive repair. |
| Deep Scratch or Nick | Has a tactile edge; film is broken. | Under 7 years | DIY Repair (Patch) | The patch repair method is effective but requires precision. Best for areas outside the driver’s main line of sight. |
| Tear or Rip | Any tear longer than 1 inch. | Any age | Professional Replacement | A tear compromises the film’s structural integrity. A patch is a temporary fix at best and is highly visible. |
| Widespread Fading/Purple Hue | Affecting more than 50% of the window. | Over 5-7 years | Professional Replacement | This is a sign of dye failure in a low-quality or aged film. The film itself has failed and cannot be repaired. |
| Damage in Driver’s View | Any deep scratch, bubble cluster, or patch. | Any age | Professional Replacement | Never compromise your direct line of sight. A DIY repair can create a distortion that is unsafe for driving. |
Gathering Your Professional Tint Repair Toolkit
Carrying out a repair that will last, but at the same time will not be noticeable takes the right tools. The best way towards creating more harm is by the use of unsuitable instruments namely: razor blade, kitchen knife etc. The items listed below are split into the absolutely necessary ones and the ones suggested to provide the optimal result.

Essential Tools
- Spray Bottle with Solution: This will be your clean-up and application work horse. Put in a solution of soapy water, distilled water and a few drops of baby shampoo or pure dish soap (no degreasers). The soap helps to lubricate the work (you can drag tools on the film without picking up or scratching). Water avoids trapping of mineral deposits by use of distilled water.Ammonia-Free Glass Cleaner: Do not use one that contains ammonia as this removes the car window tint adhesive. It will make the film break down, bubble and fail with time. Make sure your new cleaning product is specifically marked with the tag, ammonia-free and tint-safe.
- Precision Craft Knife or Olfa Blade: Use a high-quality sharp blade, you don t have a choice when it comes to patch repair. The blade should not be dull because it will not merely cutting the film but will tear it through and cause a jagged edge instead of the clean professional one. Using a new blade per project will be a good expenditure.
- Plastic Squeegee: Squeegee that is dedicated to tinting is necessary to push out the bubbles of air and fix the film. When choosing a squeegee, you want one that is made in a 4-inch size, and it is a firm, yet flexible rubber edge. Even better, a model with a felt covered edge is also an option, which adds one more layer of scratch protection.
- Lint-Free Microfiber Cloths: You will have to prepare a number of clean cloths to clean the film and the glass. Normal paper towels or cotton wipes result in lint, which once stuck underneath your patch, can never be removeable, resulting in ugly stains.
Recommended Tools
- Heat Gun: A heat gun is not absolutely needed in each repair, but it is a great tool. It enables you to warm up the film to soften it such that you can remove the wrinkles and by so doing also helps activate the adhesive in the film to bond better, especially on the peeling window tint film. With great care in the lowest position so as not to melt the film or to break the glass.Syringe or Needle: In the pin-prick method of bubbling repair a fine, sharp-pointed pin is necessary. Insulin syringe is provided in most of the drug stores and they are ideally suited to the purpose because it is very thin in gauge.
Step-by-Step: Fixing Peeling Corners & Edges
Probably the most prevalent tint malady is a peeling tint corner, as discussed above this may be related to friction against the windows weather stripping or to poor installation. Treating it on time will not allow its worsening and the accumulation of dirt on the peel.
- Prepare the Area: First of all, you want to clean the affected corner and the surrounding glass area neat with your ammonia-free cleaner and a microfiber cloth. This cleans the surface grit that might intrude in adhesion.
- Lift and Clean Underneath: Lift the peeling window tint section off the glass gently. Take care that it is not folded or pinched. Lightly mist the exposed glass and sticky layer of the film using the soapy water mixture. Lightly brush off any grime or aged glue deposits using the soft surface of your squeegee or a micro fiber cloth.
- Reactivate or Reapply Adhesive: Should the film be of more recent vintage, it is conceivable that simply warming the visible adhesive with a hand held heat gun (at the lowest setting) could activate it. Should the adhesive be at all dry or non-tacky you will require a special window tint adhesive or a clear super-glue which you use very sparingly with a toothpick. Put only on the glass but not on the film.
- Seat the Film: Gently stamp the peeling part back to the glass. Lubricate the top of the film by spraying your solution and then press the film down systematically using your squeegee or even a credit card covered by the cloth. slide work of the well-adhered side of the film to the outside edge of the tint, forcing out all air and water.
- Heat and Final Press: Once the film is applied, the repairs ought to be heated using the heat gun in order to relax the coerced corner. This assists the adhesive to harden and the perfect fitting of the film to the glass is achieved. Immediately follow it up with the squeegee with firm pressure. Dry the spot and do not roll down the window at least 4872 hours.
Erasing Annoying Bubbles and Creases
The bubble in the window tint is usually because of the poor initial installation, but this issue can be fixed with the use of accuracy. Isolated bubbles are frequently confused with premature indicators of peeling tint, but are a separate concern by the practice of entrapment of some solution or air bubble in the gel.
The Pin-Prick Method for Isolated Bubbles
This method serves best with single and small bubbles.
- Acquire a Fine Needle: The ideal one is an insulin syringe. The common sewing pin will do (though it has a larger diameter and thus will leave a bigger hole).
- Puncture the Bubble: Inserting the point of the needle into the side of the bubble at a low angle shouldn be too painful. You do not want to puncture the top down. A side puncture does not show as well.Expel the Contents: Press the air or water out of the little hole by gently pushing it with your finger or corner of a plastic credit card. Do not mix rapidly but instead move slowly and cautiously until all the bubbles are flattened. The glass should self adhere to the film.
The Heat and Squeegee Method for Larger Pockets
With larger bubbles or soft creases, the film may crease and the soft crease can be smoothed out with the use of heat.
- Heat the Area: Warm up a heat gun and direct it about 68 inches towards the glass always moving it over the bubble. Keep it on the minimum temperature. The idea will be to warm the film, not to melt the film. It must flexibly get conspicuous.
- Work the Bubble Out: After they are warm spray with your slip solution. With your squeegee, start pushing the air/water which is trapped towards one near edge of the tint. Apply firm and overlapping marks. It is possible to reheat the region a few times so as to be able to manipulate the whole bubble out.
Making Scratches and Tears Disappear
This is the last resort DIY repair and can only be done to deep scratch/nicks that have penetrated the film. The procedure consists in being able to cut clean through the damaged portion and substitute thereto an entirely new and perfectly matching bit of tint. This is a kind of patch up and needs a stable hand and ultimate precision.

- Mark the Area: Take a straight edge and a non-permanent marker, and outline a simple square (or rectangle) box around the scratch on the outside of the glass. This is what will act as your cutting guide.
- The Precision Cut: This step is the most crucial one. Lay your straight edge on the inside on the guide mark on the glass. Make a stern definite incision with a freshly sharpened blade or razor blade. Exert enough pressure to penetrate the film and not to scar on the glass.
- Remove the Damaged Section: Then, take the tip of your blade and raise one corner of the cut-out bit. Remove it off the glass. Your cut lines on the back of it should be clean.
- Impeccable Surface Preparation: Spray the surface glass with your ammonia free cleaner and clean dry. Then use a knife with 45-degree angle and scrape the glass and get the remaining glue. Revise and clean once more.
- Applying the New Patch: Tear a new and slightly bigger hole in the swatch of car window film than that of the hole. Dab the open glass and your fingers with the slip solution. Remove the protective paper off the new tint patch, and spray the sticky side of the patch. Expectedly, the patch ought to be carefully secured over the hole so as to cover all the edges. Spray the top of the patch and use squeegee to push out all the water and air making it centre and outward.
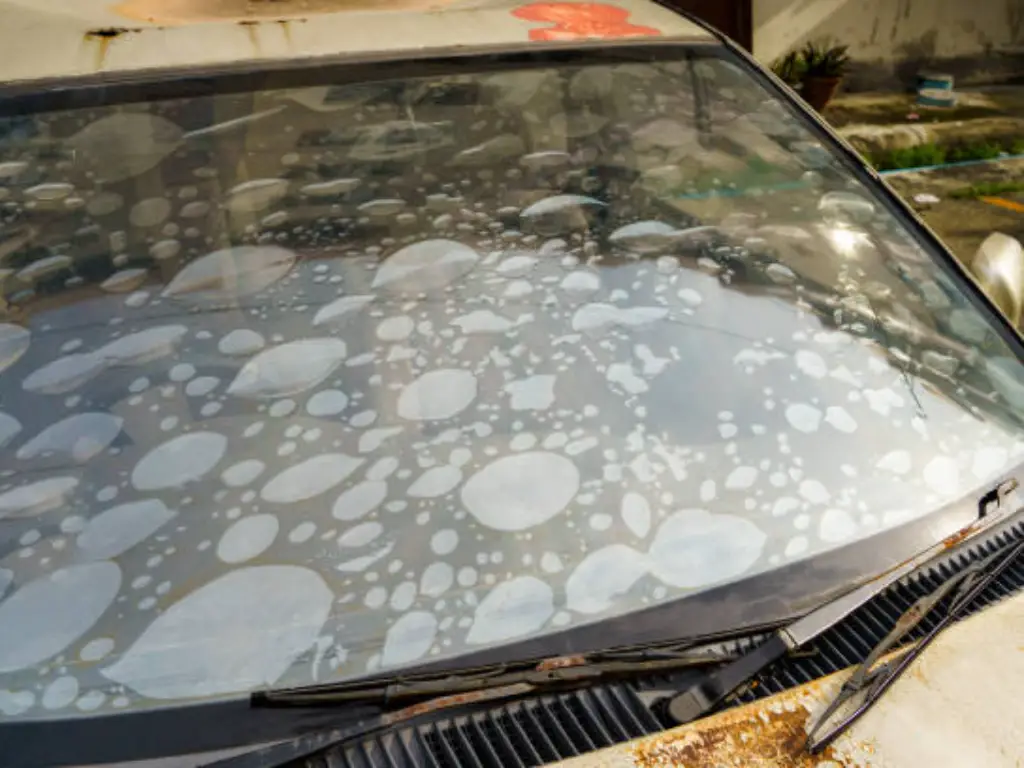
Tackling Fading, Discoloration, and Tears
Certain types of damages are not stains on the film but the signs of film failure. General fading, the purple or brownish discoloration and large sized tearing indicate that the old tint is ending its working life. The polyester may be delaminating or the dyes used as a colour may have disintegrated due to too much exposure to the dangerous UV rays.
Such cannot be easily fixed. The best effective action is a complete removal and replacement. Although a tear can be theoretically patched, a giant patch is very obvious and does not help the film much in terms of the restoration of its original structure or the look. This is when the quality of your film where you opt to go with a replacement or a smaller patch repair comes into fruition and is the difference of frustrations or satisfaction.
Why Quality Film is Key for a Lasting Patch
For any patch repair, the quality of the new film piece is non-negotiable. A cheap film won’t just look bad; it will fail quickly. It may not match the color of your existing tint and will likely fade at a different, faster rate. For a repair that truly lasts, you need professional-grade materials. As a direct supplier to tinting professionals, Flexippf (https://www.flexippf.com/) provides high-performance window tints that ensure superior adhesion, color stability, and durability. All flexippf window tint even come with a warranty, offering true peace of mind.
Pro Tips for a Seamless, Invisible Repair
- Matching the Film: If patching a repair is done, the repair will be optimal with a scrap of the same film as used. Otherwise, you should bring your vehicle to a professional window tinting store and request to purchase a small piece of the film which in color most closely matches the tint you currently have as well as the Visible Light Transmission/VLT.
- Work in a Clean, Well-Lit Environment: You will work in any well-lighted room, but dust is the arch-enemy of a well-tinted job. Work in a garage or in closed place. Lighting help to detect tiny bubbling, remaining adhesive, and flaws in your cuts.
- “Feathering” the Patch: Feathering the Patch A patch has been applied and squeegeed- a heat gun can be used to slightly warm the seams where new and old film meet. This may assist the edges to settle and emerge less clear.
- The Double-Cut Method: The method is perfect in the experts hands, and provides a perfect seam. Put on the larger patch on top of the visible tint that is on the affected area. After that, create one cut through both layers of film at a time. Strip off the patching stuff on the outside, and the impaired film on the inside. The patch is going to fall into the gap ideally.

Aftercare: Keeping Your Repaired Tint Perfect
An improper aftercare may ruin an effective repair. The adhesive should take time to properly cure and screw with the glass.
- Immediate Aftercare (First 3–5 Days): Refrain doing the following: rolling down the repaired window. The weather stripping friction may grab its edge and destroy the repair work. Moreover, do not rinse the window and stick in the fixed place. It might be a bit hazy but that is normal and a residue of the moisture that won t evaporate as the movie dries up.
- Long-Term Maintenance: Clean your tinted windows using ammonia free cleaners and lightly abrasive microfiber cloths at all times. Do not scrub and use hard items like sharps in the vicinity of the glass. This gentle cleaning that you do regularly will save you the life of your repair and of your original tint.
When to Skip DIY and Call a Professional
It is just as important to know the limitations of a DIY-repair as it is to know how to conduct one. Immediately you need to choose professional service in case:
- Such was the damage right at the first line of vision of the driver. Notwithstanding how nice a patch is done, it introduces a bit of a visual distortion.
- The harm is wide spread. When the peel is greater than a few inches or when there exist several big window tint bubble or a scratch looks like a spiderweb, the film integrity is damaged.
- The movie is out-dated and sick. When you have purple tinting, faded tinting, or brittle tinting it has to be replaced.
- You have had a go at it, and screwed it up. It is not a shame to admit this- professionals can give a clean slate.
Honest evaluation of the damage as well as of your own abilities will enable you to approach most of window tinting repairs commissioning with great certainty and deliver a window tinting in your car not only in terms of appearance, but also in terms of its functionality, for a much lesser outflow of cash.
Read more:
- Want to know more about car window tint brands or car window tint manufacturers
- Before reapplying the film, you must first remove the old film. This article provides a detailed guide on the steps to remove the film.
FAQ
1. What is the price on repairing window tint?
The repair of window tinting normally starts as low as 50 dollar to 150 dollars per window depending on the harm caused and type of window tint. Older or heavily damaged film has the option of full replacement that may prove more economical. For a more detailed breakdown, you can check our comprehensive guide on window tint cost.
2. Is window tint salvageable?
Minor damage done to tint by tiny bubbles or peeling may sometimes be fixed. But with widespread damage, it is common to purchase the replacement of the entire tinted film to give an even look.
3. What do you do when window tint has a hole in it?
The hole in tint of the window is not normally suitable to patch without leaving a seam impression. The most applicable alternative is to get rid of the indented part and replace it with a smooth one by replacing the entire tint panel.
4. What happens when window tint is peeling?
In case your tint is peeling, then the damaged part should be detached with the help of heating and a fresh layer of tint must be attached. The peeled surface normally signals the presence of age or the myopic installation.
5. What is the darkest tint on legal windows?
The darker tint of law differs in states (or countries). Most states of the U.S. allow windows in the front side (VLT 35%), but the windows in the back could be darker. Local laws should always be sought.