
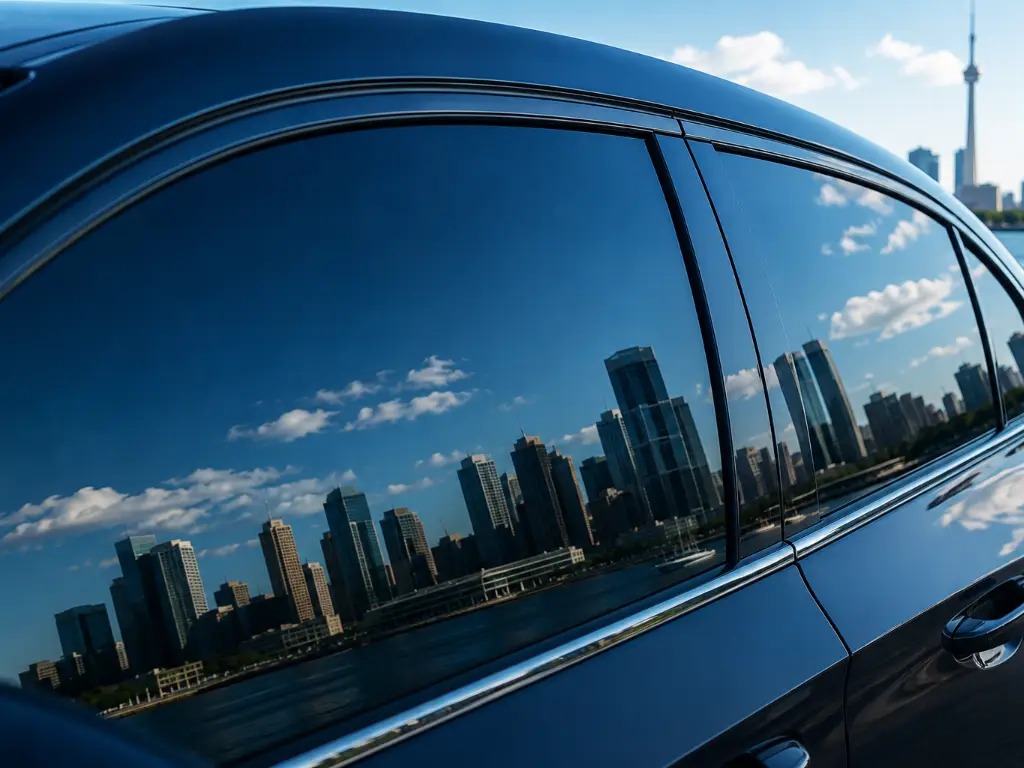
Why You Can’t Roll Down Your Windows Right After Tinting
Window tint installation works a lot like applying a giant screen protector to your phone — except it’s 50 times larger, stuck to a vertical surface, and needs to survive rubber seals scraping across it every time you drive. Your installer didn’t just press a dry piece of film onto the glass. They used a wet-application method: a slip solution gets sprayed on, the film goes into position, and a squeegee pushes most of the liquid out. But not all of it.
What happens next is a two-stage process. First, evaporation — the moisture trapped between film and glass has to escape. Since the film’s edges sit tucked under your window seals, that moisture leaves slowly, seeping through the film’s microscopic pores and along its edges. This takes 2 to 7 days depending on conditions. Second, adhesive cross-linking — the pressure-sensitive adhesive bonds to the glass at a molecular level. This keeps going long after the film looks dry, sometimes up to 30 days for full strength.
Here’s the problem with rolling down too early: your window’s weatherstrip — that rubber seal hugging the glass — pushes hard against the film’s bottom edge. If the adhesive hasn’t set, that seal works like a scraper. It catches the edge, lifts it, and lets air, dust, or moisture underneath. The damage isn’t always instant. But it’s always a risk you don’t need to take.
Stage 1 — Evaporation: moisture escapes (2–7 days). Stage 2 — Cross-linking: adhesive bonds at the molecular level (up to 30 days). The film looks dry long before it’s fully cured. Don’t let the clear appearance fool you.
How Long Should You Wait? The Honest Answer
The short answer: 3 to 5 days is safe for most people, in most climates, with most films. But your actual number depends on three things — where you live, what film was installed, and how your installer worked. Before we break those down, remember this: waiting one extra day never ruined anyone’s tint. Rolling down one day too early has ruined plenty.
Standard Timeline by Climate
Your local weather is the biggest factor in how fast your tint cures. Warm, dry air pulls moisture out fast. Cold, damp air does the opposite. Here’s what to expect:
| Climate Condition | Temperature Range | Recommended Wait | Notes |
|---|---|---|---|
| Hot & dry | Above 30°C (86°F) | 2–3 days | Fastest curing. Park in direct sun. |
| Mild / moderate | 15–30°C (59–86°F) | 3–5 days | The most common scenario. Safe baseline. |
| Cool & humid | 5–15°C (41–59°F) | 5–7 days | High humidity (>70% RH) dramatically slows evaporation. |
| Cold / winter | Below 5°C (41°F) | 7–10 days | Adhesive stays soft. Indoor parking recommended. |
A useful rule of thumb: if you wouldn’t hang laundry outside to dry in today’s weather, give your tint an extra day.
Does Film Type Change the Wait?
This is one of the most-asked follow-up questions. The answer: yes, but less than most people think.
| Film Type | Typical Wait | Why |
|---|---|---|
| Dyed film | 2–4 days | Thinnest construction (~1 mil), single dye layer, fastest moisture escape |
| Carbon film | 2–5 days | Moderate thickness, carbon particle layer adds slight density |
| Ceramic film | 3–7 days | Multi-layer with nano-ceramic particles, 2–3 mil thickness, slowest evaporation |
The gap between dyed and ceramic is usually 1 to 2 extra days — not a week. And here’s a reality check worth paying attention to: film thickness does not equal film quality. A fast-drying dyed film isn’t “cheap,” and a slow-curing ceramic film isn’t automatically “premium.” What actually matters is the film’s construction quality and adhesive formulation. The brand of adhesive, the uniformity of the coating process, and the quality of the raw materials influence curing behavior more than the broad label of “ceramic” or “dyed” ever could.
Special Cases: Sunroof, Rear Window, and Winter Installs
Three situations deserve extra attention because they break the standard timeline.
Sunroofs cure slower than side windows. The near-horizontal angle means gravity fights even moisture distribution — the installation solution pools at the lowest edge instead of draining evenly. Add 1 to 2 extra days to your wait, and avoid tilting or opening the sunroof during the entire curing period.
Rear windows with defroster grids come with a hard rule: do not use the rear defroster until the film is fully cured. Minimum 2 weeks, ideally 30 days. Those thin heating lines on your rear glass reach 40–50°C (104–122°F) when switched on — hot enough to create thermal expansion mismatches between film and glass. The result: adhesive bubbling or film wrinkling right along the grid lines.
Winter installations are possible but demand patience. Cold temperatures keep the adhesive soft and slow evaporation to a crawl. If you’re getting tint installed in winter, park indoors or in direct sun whenever possible, and double the standard wait time for your climate bracket. Pick a clear, dry day for the installation itself — the less ambient moisture at the start, the better.
For detailed curing time standards, refer to the International Window Film Association (IWFA) Automotive Visual Inspection Guidelines.
What Your Tint Should Look Like While It Cures (And When to Worry)
Your tint goes through distinct visual stages as it cures. Knowing what’s normal at each stage stops you from panicking over nothing — and helps you catch real problems before they set permanently. The rule of thumb: normal curing gets better day by day. Problem signs stay the same or get worse.
Normal Curing: What You’ll See Day by Day
Days 1–3: The hazy phase. Your windows will look foggy, cloudy, or slightly blurry — especially in direct sunlight. This is moisture evaporating through the film. The haze should be fairly uniform across each window. If one window looks perfectly clear while another is fogged, that’s consistent with different sun exposure, not a defect. A slight bluish cast on ceramic films is also normal — that’s the nano-ceramic particles at work, not a color problem.
Days 3–7: The water pocket phase. You may notice small water bubbles or blisters — typically smaller than a fingernail — scattered across the film. These are pockets where installation solution pooled during squeegeeing. They shrink and disappear as moisture keeps evaporating. Count them if it helps you relax: the number should drop day by day. Individual bubbles under 5mm across, with a shrinking trend, are normal.
Days 7–30: The clearing phase. The film gradually sharpens to its final optical clarity. Tiny residual specks may hang around for several weeks — these are often dust particles trapped during installation, not curing artifacts. If they’re smaller than a pinhead and don’t bother you while driving, most installers consider them within acceptable tolerance.
Red Flags: Signs You Should Call Your Installer
Some things won’t fix themselves. Here are four that warrant a phone call:
1. Edge lifting or curling. If the film is peeling away from the glass at any edge — especially the bottom edge where the window seal contacts it — the bond has been compromised. The repair window is tight: within 48 hours of installation, an installer can often re-press the edge. After 72 hours, partial adhesive cross-linking has already happened, and that section may need replacement.
2. Large or growing bubbles. A bubble larger than a coin (over 1cm across) that doesn’t shrink after 3 days, or any bubble that’s visibly expanding, means trapped air or installation error — not normal curing moisture. Take a photo. Send it to your installer.
3. Film wrinkling or shifting. If the film looks creased or has visibly slid from its original position, the adhesive didn’t take. This usually means a full redo of that window — it won’t self-correct.
4. Patchy purple or rainbow discoloration. A uniform blue-ish tone on ceramic film is normal from day one. But blotchy purple patches that show up later — especially on non-ceramic films — are the early warning sign of dye-layer breakdown. This is a film quality issue, not a curing issue, and it only gets worse.
Not sure whether something is normal? Take a photo in natural daylight and send it to your installer. Any decent shop would rather look at ten “it’s fine” photos than deal with one problem you waited too long to report.
What Really Determines How Fast Your Tint Cures
Most articles stop at “it depends on the weather.” But there’s a deeper layer almost nobody talks about: your film’s manufacturing quality sets the floor for how fast and how reliably it cures. The weather sets the ceiling.
You’re not just waiting for water to evaporate. You’re waiting for your film to finish a chemical process. The raw materials and manufacturing precision behind that film determine how predictably that process runs — the same way different paint formulations dry at different speeds, no matter the weather.
Film Quality: Why Materials and Manufacturing Matter
Window film isn’t a single sheet of colored plastic. A quality film is a five-layer engineered product: a scratch-resistant hard coat on top, the PET film substrate, a polyurethane or TPU layer for impact resistance, the adhesive layer, and a protective release liner on the bottom. Each of these layers plays a role in curing.
The film’s construction determines the moisture escape path. In a multi-layer film, moisture trapped during installation travels through the layer interfaces to reach the edges — it doesn’t just evaporate straight through. A precisely manufactured film with uniform layer bonding gives moisture predictable, consistent escape routes. A poorly bonded film creates random pockets where moisture stalls. The visible result: isolated bubbles that never clear.
The adhesive layer is the real protagonist of the curing story. TPU — the film’s base material — handles physical strength: impact resistance, scratch protection, yellowing prevention. The adhesive handles curing behavior: how fast the film bonds, how evenly it sets, and whether it stays bonded for 5 years or 10. Premium manufacturers use pressure-sensitive adhesives from established chemical suppliers — formulations tested across thousands of installations with predictable curing curves. Generic adhesives may bond fine in ideal conditions but fail unpredictably when temperature or humidity shifts.
Then there’s the top coating. Ceramic and nano-ceramic top coats are dense, low-porosity layers built to reject heat and UV. That density is great for performance — but it also means moisture can only escape through the film’s edges, not its surface. This is actually a feature: slow, edge-driven evaporation produces a more uniform bond than rapid surface evaporation, which can create stress gradients in the adhesive. When a ceramic film takes an extra day or two to cure, that’s not a flaw. It’s the byproduct of coating technology designed for longevity.
The practical takeaway: if you want predictable curing, pay attention to what’s inside the film, not just what category it falls into. A dyed film with a quality adhesive cures more reliably than a ceramic film with a generic one.
Climate and Installer: The Variables You Control
Some variables are in your hands. The three most impactful decisions you can make before installation day:
1. Pick a dry, sunny day. UV exposure speeds evaporation. A UV index of 6–8 is ideal — strong enough to warm the glass and pull moisture out without overheating the film surface.
2. Park in the sun after installation. Direct sunlight on your windows for the first 3 days can cut curing time by 30–50% compared to parking in a garage. Just don’t leave the car sealed and baking — run the air conditioning or leave a ventilation gap to stop interior humidity from building up.
3. Choose your installer as carefully as your film. An experienced installer’s squeegee technique leaves behind less than 0.1mm of residual moisture. An amateur can leave three times that — adding 1–2 days to your curing time regardless of film quality. The installer is the variable that turns a great film into a great result.
Your Aftercare Checklist: The First Week and Beyond
| Time Period | ✅ Do This | ❌ Avoid This |
|---|---|---|
| Days 1–3 | Park in sunlight; use A/C for ventilation; visually inspect film edges from outside the car | Rolling windows up or down; washing the car; using any glass cleaner; touching film surface |
| Days 4–7 | Carefully operate windows if edges look dry and bonded; inspect film in daylight at a 90° angle | Using rear defroster; attaching suction cups, stickers, or GPS mounts to glass |
| Weeks 2–4 | Normal window use; clean film gently with ammonia-free cleaner and microfiber cloth | Using Windex or any ammonia-based cleaner; pressure-washing near window edges (under 30cm) |
| Month 2+ | Normal maintenance; check edges every 3–4 months | Ignoring small edge issues — they grow |
One cleaning rule to lock in: ammonia is window film’s number one chemical enemy. The ammonia in standard household glass cleaners — typically 5–10% concentration — chemically attacks both the film’s PET substrate and its adhesive layer. It breaks down the dye molecules, producing the classic purple haze on aging tint, and embrittles the film until it cracks (Consumer Reports, ammonia-based cleaners advisory). Use only cleaners labeled “ammonia-free” or “tint-safe.” Or mix your own: distilled water with a drop of mild dish soap. Always pair with a clean microfiber cloth — paper towels contain wood fibers that micro-scratch the film surface.
If you’ve already rolled down a window too early: don’t panic. Inspect the bottom edge of that window right away. If the film is still flush against the glass with no lifting, bubbles, or wrinkles, you probably got lucky — keep the window up and continue the standard curing timeline. If you see edge separation, call your installer within 48 hours. Most shops will re-press a lifted edge at no charge if you’re upfront about what happened and you call promptly.
When choosing window tint, the film’s construction quality matters as much as its category. Professional-grade films built with multi-layer architecture and premium adhesives — like those manufactured to international OEM standards — cure more predictably and perform more consistently over their warranty life. If you’re evaluating options, reviewing a manufacturer’s material specifications and testing standards gives you a clearer picture than broad labels like “ceramic” or “carbon.” FlexiPPF’s window tint product line illustrates the kind of detailed material and construction transparency worth looking for.
 English
  Spanish
  Dutch
Dutch  Japanese
  Russian
  Arabic